Raspberry Pi 3 Setup
These steps will guide you through making your Raspberry Pi 3 into a full MQTT server and Happy Bubbles Presence Server
- Install the Raspbian OS to an SD card. There are instructions on how to do that here: https://www.raspberrypi.org/documentation/installation/installing-images/
- Insert the new SD card into the Raspberry Pi 3 and power it up
- Click on the network symbol at the top right and connect your Raspberry Pi 3 to your wifi network
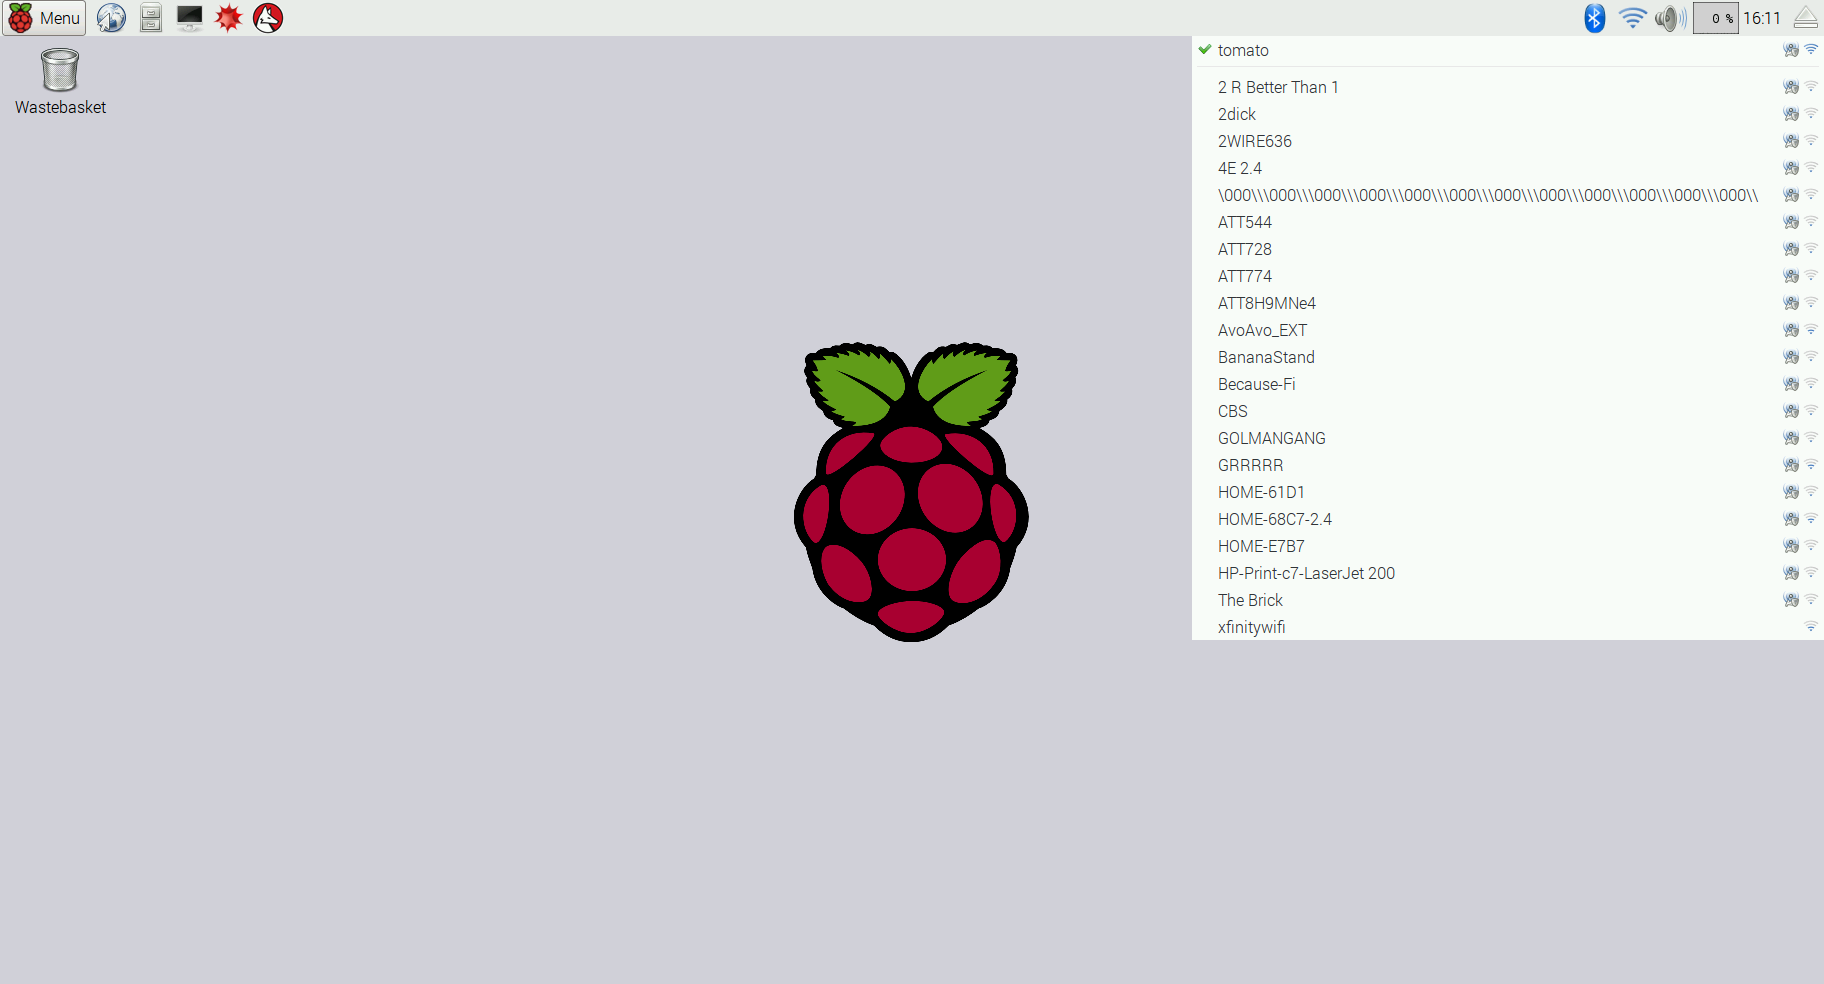
- Try to open a browser and make sure the wifi works when you've connected it
- Now change your Raspberry Pi's hostname to what you'd like. To do this, go to the menu icon on the top left and click on "Preferences" then "Raspberry Pi Configuration"
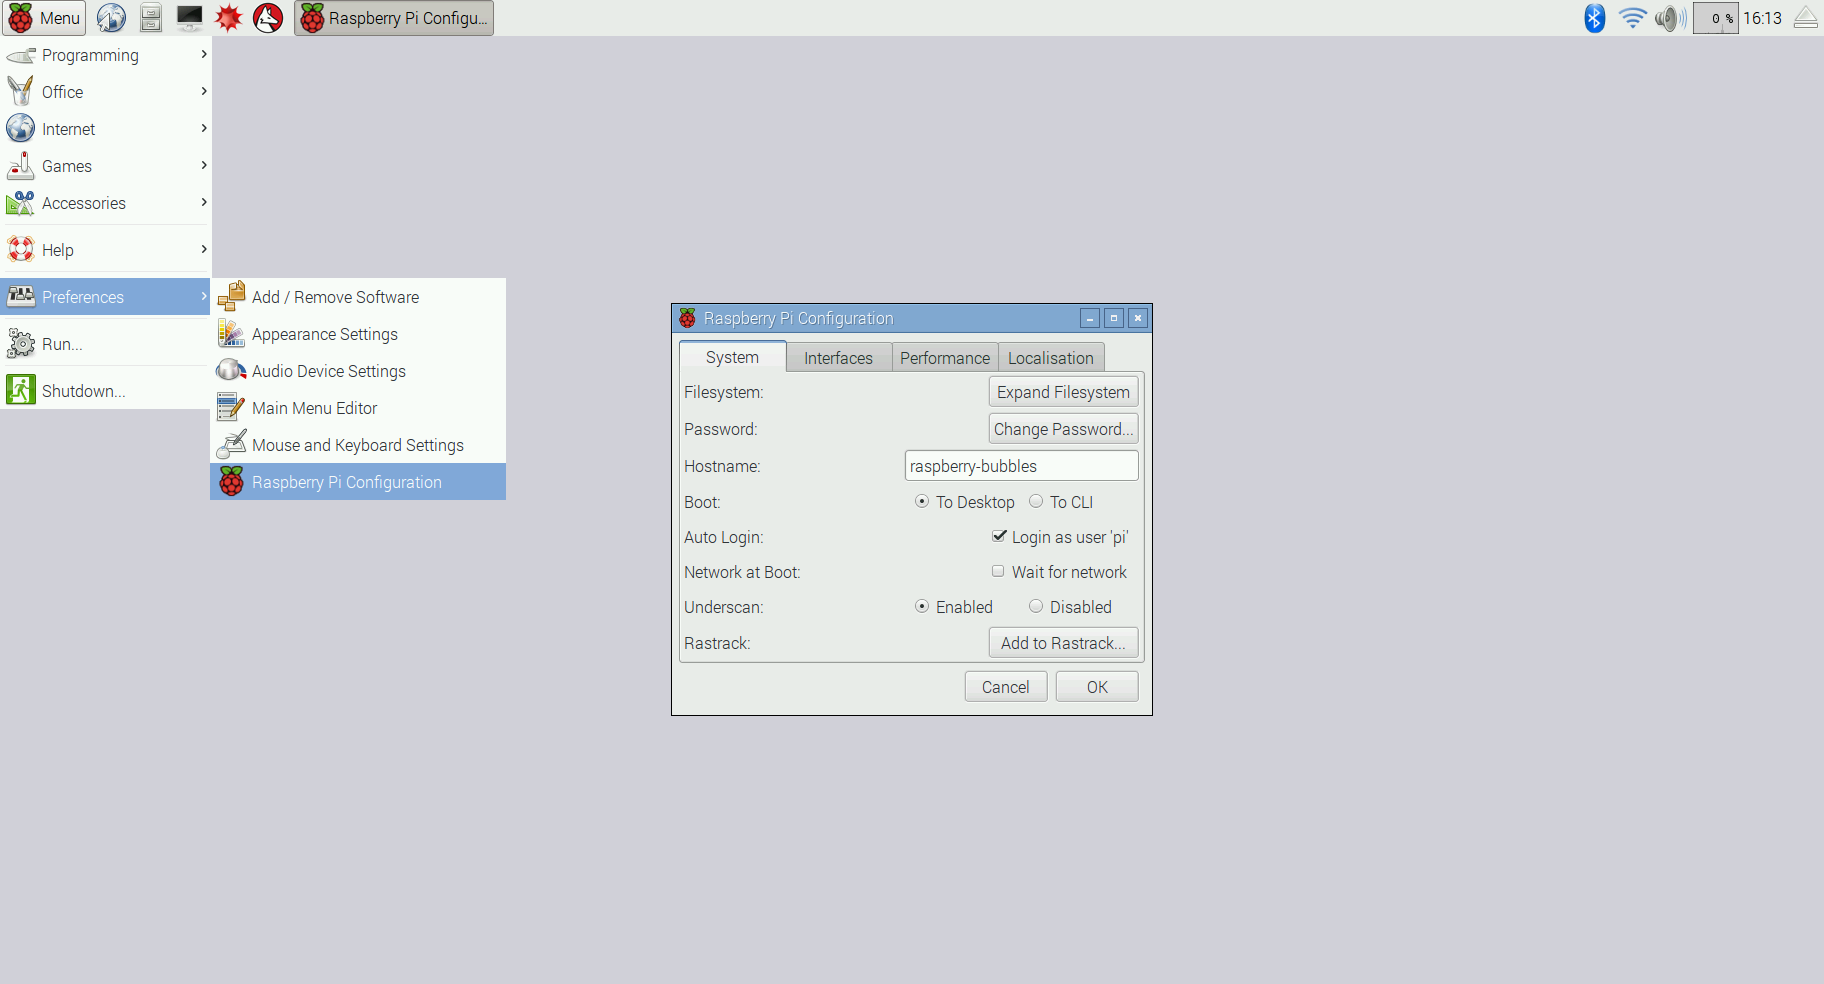
- Call the new hostname what you'd like, I chose "raspberry-bubbles"
- Click on OK when done and it may ask you to restart the Raspberry Pi, do that
- After the restart, open a command line terminal
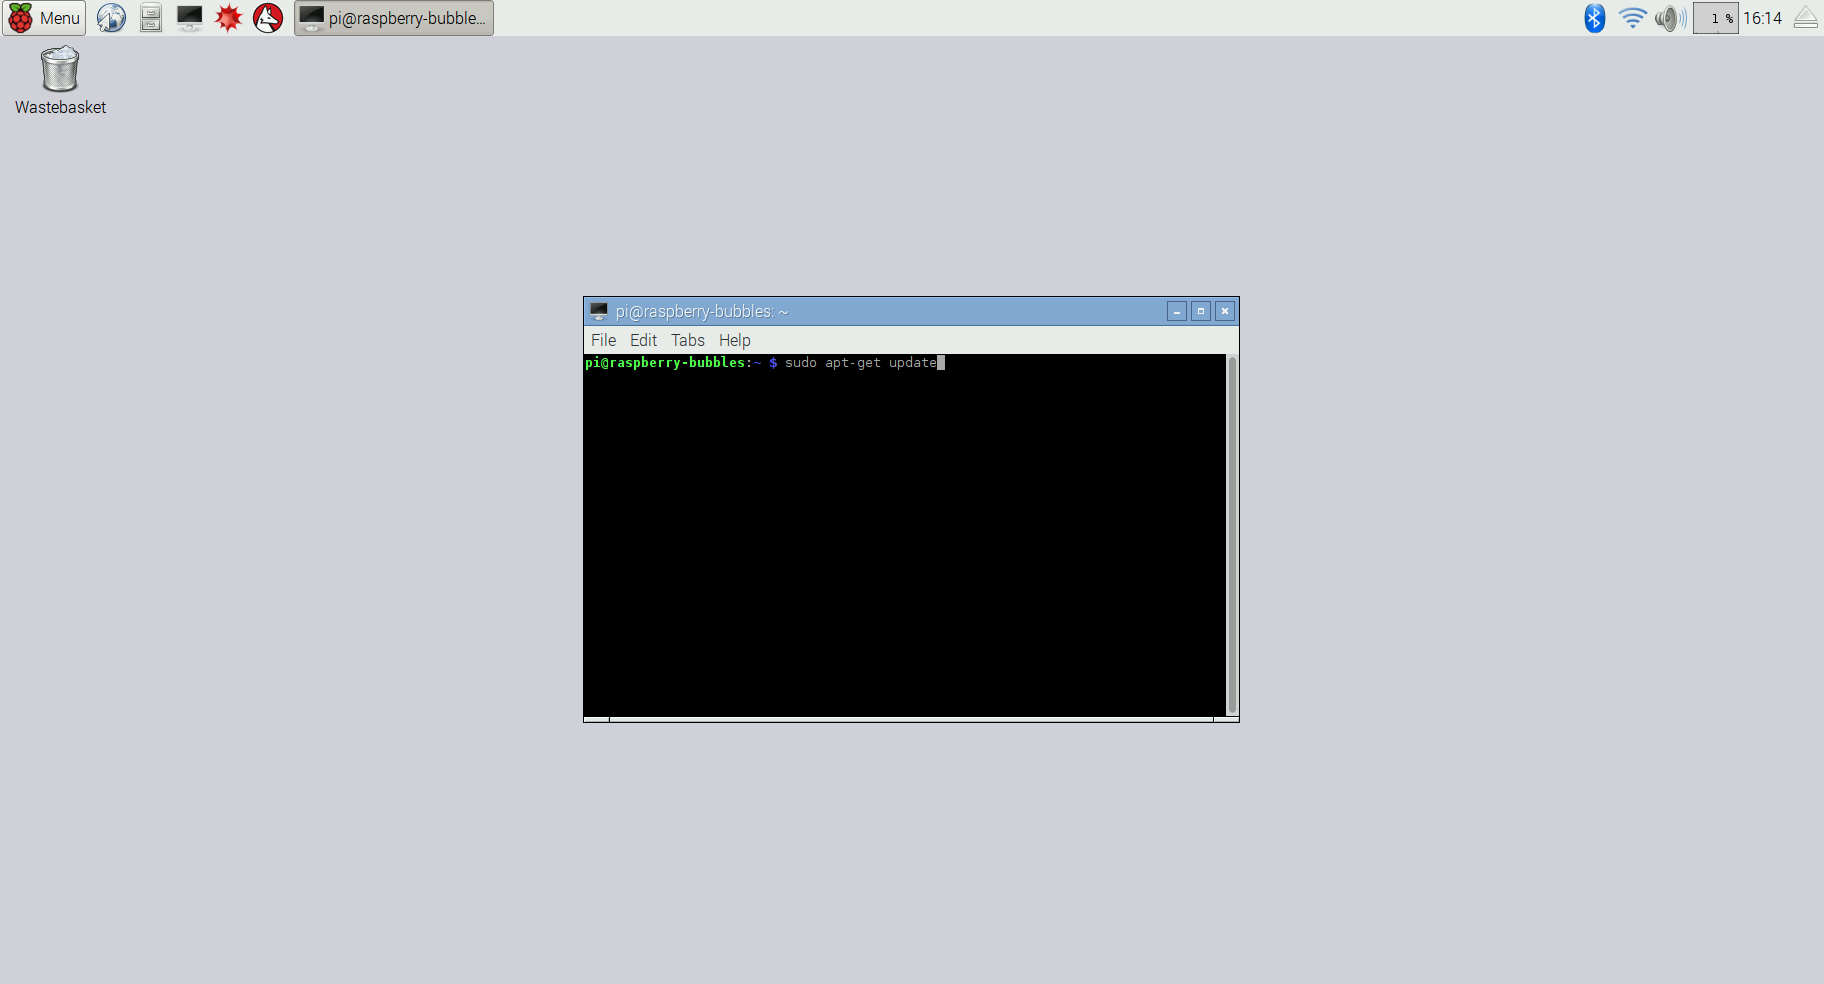
- In the terminal type in:
cd Downloadsand press enter - Then type in
wget https://github.com/happy-bubbles/presence/releases/download/1.6.2/presence_rpi3_install.shand press enter - Now to begin the install, type "bash presence_rpi3_install.sh"
- If all went well, your presence server should be installed, you can make sure by going to the link it gave at the end of the install. You should see something like:
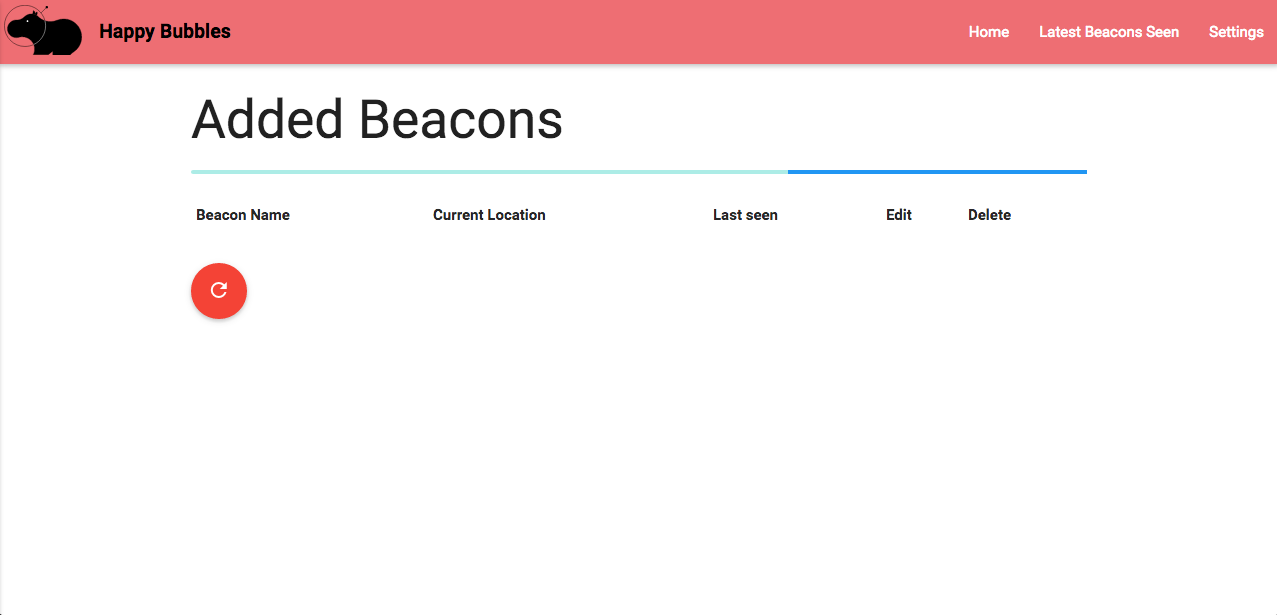
- If you see that, it works! Now enter config mode on your Happy Bubbles Presence Detectors, as described in the setup directions and for the MQTT server, put in your Raspberry Pi's hostname that you assigned it in step 5. You do not need a username or password and keep the port as 1883.
- To test that your Happy Bubbles detectors are working, click on the "Latest Beacons Seen" link at the top right of the web interface and you should see a list of beacons that the detectors are seeing advertisements from.
- You can choose to save some of these beacons and name them. When you do, they'll show up with their current location on the "Home" page of the web UI.
When you've added some beacons and named them, you can now subscribe to notifications for when they change location or disappear or re-appear. All you need to do is subscribe to the happy-bubbles/presence/changes topic on your Raspberry Pi's hostname, since it is now an MQTT server.
Advanced Config Settings
MQTT Authentication
If you enabled MQTT username/password authentication on your MQTT broker, the presence server will still work, you just need to make a couple of changes.
- Make sure your Happy Bubbles in their configuration screens have the proper MQTT username and passwords set.
- On the Raspberry Pi, edit the Presence server systemd unit file at:
/etc/systemd/system/presence.serviceto include the MQTT broker username and password so the Presence server can connect. To do that, take a look at this sample config: https://www.happybubbles.tech/files/presence.service_with_authentication.txt - Then run
sudo systemctl daemon-reloadandsudo service presence restartto save the changes and restart the presence server